Table of Contents:

Python course: 4 projects for Your Portfolio
Learn MoreWhat is Composer?
Composer is a powerful tool for managing dependencies in PHP projects. It is a free solution that greatly simplifies the process of installing, updating, and removing external libraries and packages. With Composer, developers can easily control the versions of their dependencies, ensuring project stability and compatibility. Using Composer saves time and effort, as it automatically manages dependencies and their versions, making development more organized and less error-prone.
Dependencies in software development include libraries, frameworks, and other external components that are necessary for your project to function correctly. For example, if you need a function for hashing passwords, you can use an existing library, which will significantly simplify the development process and save time. Using dependencies allows you to focus on the key aspects of your project, avoiding reinventing the wheel and improving overall efficiency.
As the number of dependencies increases, managing them becomes more complex and requires careful consideration. When updating a library, you must manually download it from the developer's website and integrate it into the project. This process can be error-prone, especially if the function structure or namespaces change, which can negatively impact the application's functionality. To avoid such issues, it is recommended to use dependency management tools that automate the update process and minimize the risk of conflicts.
To prevent dependency issues, developers use dependency managers such as Composer. This tool simplifies library and package management by automatically downloading the necessary dependencies and ensuring their correct functioning. Using dependency managers helps avoid version conflicts and simplifies the update process, significantly increasing developer productivity and the quality of the final product.
Composer performs several key functions, including dependency management, automatic class loading, and simplifying the library installation process. With it, developers can easily add and update third-party packages, which significantly speeds up software development. Composer also ensures stability and compatibility of library versions, which helps avoid conflicts and errors in the code. In addition, thanks to a simple interface and an understandable command system, it becomes an indispensable tool for PHP developers. Using Composer contributes to a more organized and efficient development process, which ultimately improves the quality of the final product.
- Downloading dependencies from a central repository and other sources.
- Formulating a list of required dependencies for a project.
- Updating dependencies to stable versions.
- Pinning stable versions of libraries to prevent unexpected problems.
- Simplifying class autoloading.
If you have experience working with programming languages such as JavaScript, Python, or Ruby, then you most likely have used package managers such as NPM, PIP, or RubyGems. In the PHP ecosystem, Composer serves a similar role. This tool simplifies dependency management, allowing developers to easily install, update, and remove libraries. Composer significantly improves the PHP development process by providing a more structured and organized approach to code management.
Previously, PHP developers used PEAR (PHP Extension and Application Repository) for dependency management, but this tool had several serious drawbacks. The main issues included global package installation, which limited flexibility in version control. These limitations became the basis for the creation of a new dependency manager that offers more efficient and convenient solutions for managing libraries and packages in PHP.
Introduced in 2012, Composer has become a popular tool among developers due to its key advantages. It installs packages locally in the vendor folder, simplifying dependency management in projects. This allows developers to add necessary libraries without any restrictions. By default, Composer works with the central Packagist repository, but it also supports integration with other sources, making it a flexible tool for managing dependencies in PHP.
Dependency management in software development requires a careful approach that includes not only downloading code but also a deep understanding of the required dependencies for each package. For example, the popular Guzzle library, used for sending HTTP requests, requires the installation of additional classes. This process can be effectively accomplished with Composer, a dependency management tool for PHP. Properly configuring dependencies avoids conflicts and ensures stable application operation, a key aspect of successful development.
Using the composer install command, you can automatically install all the required dependencies for your project without worrying about how they interact. This process simplifies library and package management, allowing you to focus on development. Using Composer ensures automatic dependency resolution and compatibility, significantly speeding up the setup of your project's environment.
The composer.lock file plays a key role in managing PHP project dependencies, locking in the exact versions of libraries and packages used in the application. This ensures stable operation and predictable application behavior, and creates a consistent development environment for the entire team. If the composer.json file specifies minimum dependency versions, composer.lock will lock in specific versions, helping to avoid unwanted updates and potential compatibility issues. Using composer.lock is a best practice for maintaining reliability and consistency throughout the development process.
Composer provides an efficient class autoloading mechanism, eliminating the need to manually include and require files. To use autoloading, simply include the vendor/autoload.php file. Afterwards, classes named according to the PSR-4 standard will be automatically loaded, significantly simplifying dependency management and streamlining the development process. Using Composer and its autoloading contributes to cleaner and more organized code, improving the readability and maintainability of projects.

How to install Composer: step by step Composer is an effective tool for managing dependencies in PHP projects. Composer can be installed either globally or locally. A global installation allows you to use Composer from any directory on your server or local machine, making it convenient for working with multiple projects. A local installation, on the other hand, limits access to Composer to a selected folder, which can be useful for managing dependencies for a specific project without affecting other projects. Properly configuring Composer helps simplify the development process and keep libraries and packages up-to-date, which is an important aspect for every PHP developer. In this guide, we'll cover the basic methods for installing Composer on three key operating systems: Windows, macOS, and Linux. Composer is an essential tool for managing dependencies in PHP projects, and installing it is the first step to effective development. We'll provide step-by-step instructions and recommendations so you can easily set up Composer on your computer, regardless of your operating system. By following our instructions, you can quickly and easily start using Composer in your projects.
Before starting the installation, make sure that PHP is installed on your server, as Composer is a set of PHP scripts. Without PHP installed, you will not be able to correctly install and use Composer. Make sure that the PHP version meets your project requirements for optimal performance.
Installing Composer on Windows is a simple task. Simply download and run the Composer-Setup.exe installer from the official website. This installer automatically adds the path to Composer to the PATH variable, allowing you to use it globally on your system. This approach provides easy access to Composer from the command line, simplifying the process of managing dependencies in your projects.
Installing Composer on Windows requires a few simple steps.
First, you need to make sure that PHP is installed on your computer. To do this, open a command prompt and enter `php -v`. If PHP isn't installed, download and install it from the official website.
Next, download the Composer installation file from the official website. Select the Windows version and run the installer. During the installation, specify the path to the PHP executable if the installer doesn't detect it automatically.
Once the installation is complete, verify that Composer is working correctly. Open a command prompt and enter `composer -v`. If everything is done correctly, you will see the Composer version information.
Now you can use Composer to manage dependencies in your PHP projects. Make sure you are familiar with basic Composer commands, such as `composer install` and `composer update`, to work effectively with libraries and packages.
With these steps, installing Composer on Windows is quick and easy.
- Visit the official Composer website and download the installer by clicking the Composer-Setup.exe button.
- Run the installer and follow its instructions. If PHP is not detected automatically, specify the path to it (for example, D:\xampp\php\php.exe for XAMPP). Complete the installation by clicking ‘Install’.
- Test the installation: open a command prompt (press Win + R, type ‘cmd’ and press Enter). Enter the command ‘composer’ and make sure that a message about successful installation is displayed.
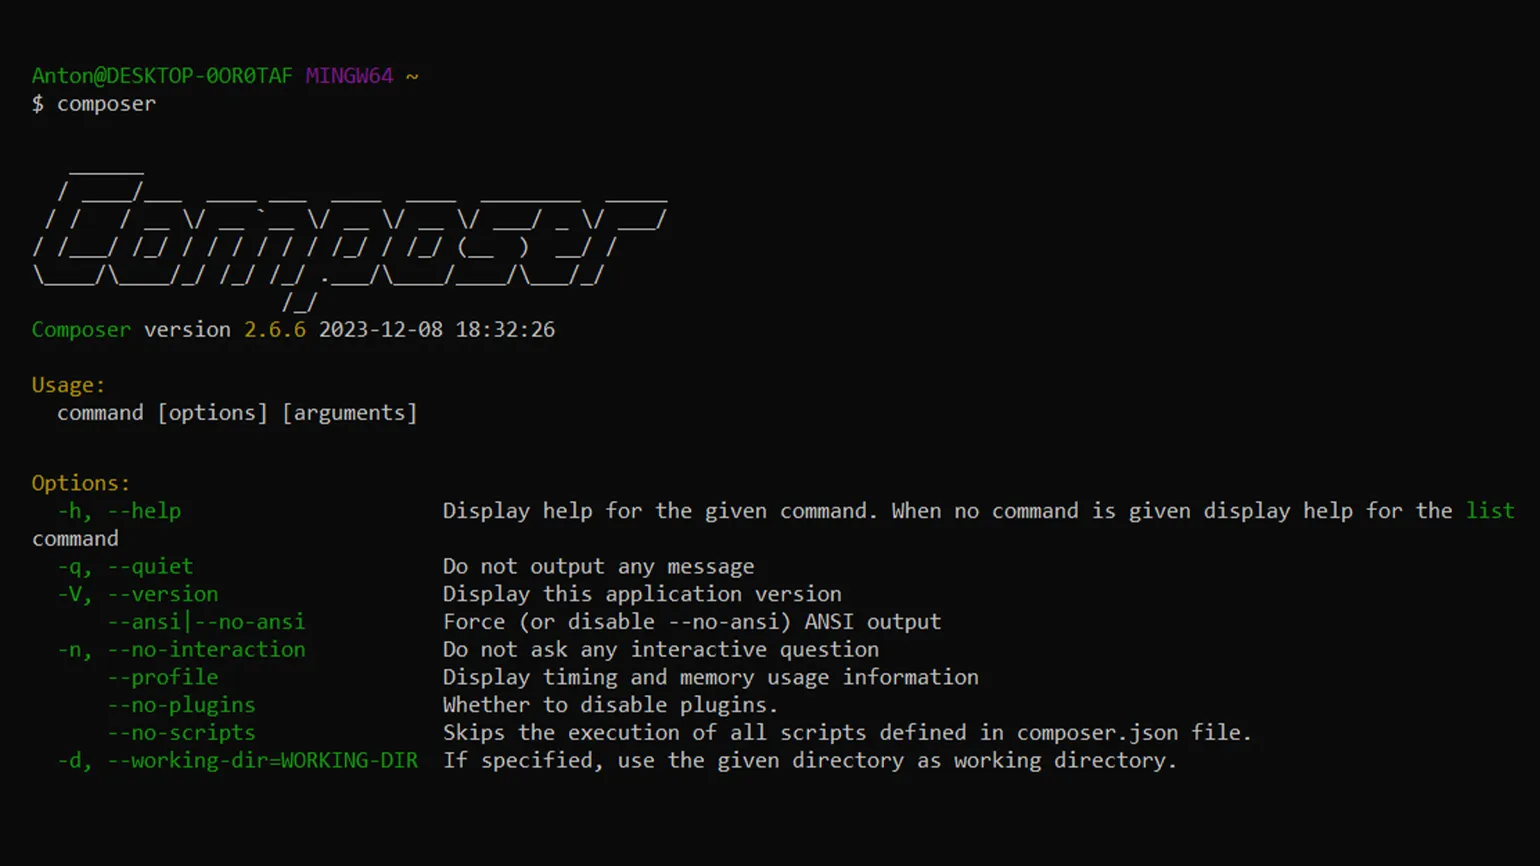
You can also install Composer via the command line (cmd.exe) or PowerShell. For detailed information and instructions, we recommend that you refer to the official Composer documentation. This will allow you to become familiar with the complete installation process and set up the environment to work with Composer.
To install Composer on a Linux operating system, follow these steps. First, make sure you have PHP installed. You can check this by running the `php -v` command in the terminal. If PHP is not installed, install it using your system's package manager.
Then download the Composer installation script using the `curl -sS https://getcomposer.org/installer | php` command. This will create the composer.phar file in the current directory. To make Composer available globally, move it to a directory in your PATH. To do this, run the command `sudo mv composer.phar /usr/local/bin/composer`.
After that, verify the successful installation by running `composer -v`. If you see version information, Composer is successfully installed and ready to use. Make sure you have all the necessary permissions to run these commands. Now you can use Composer to manage dependencies in your PHP projects.
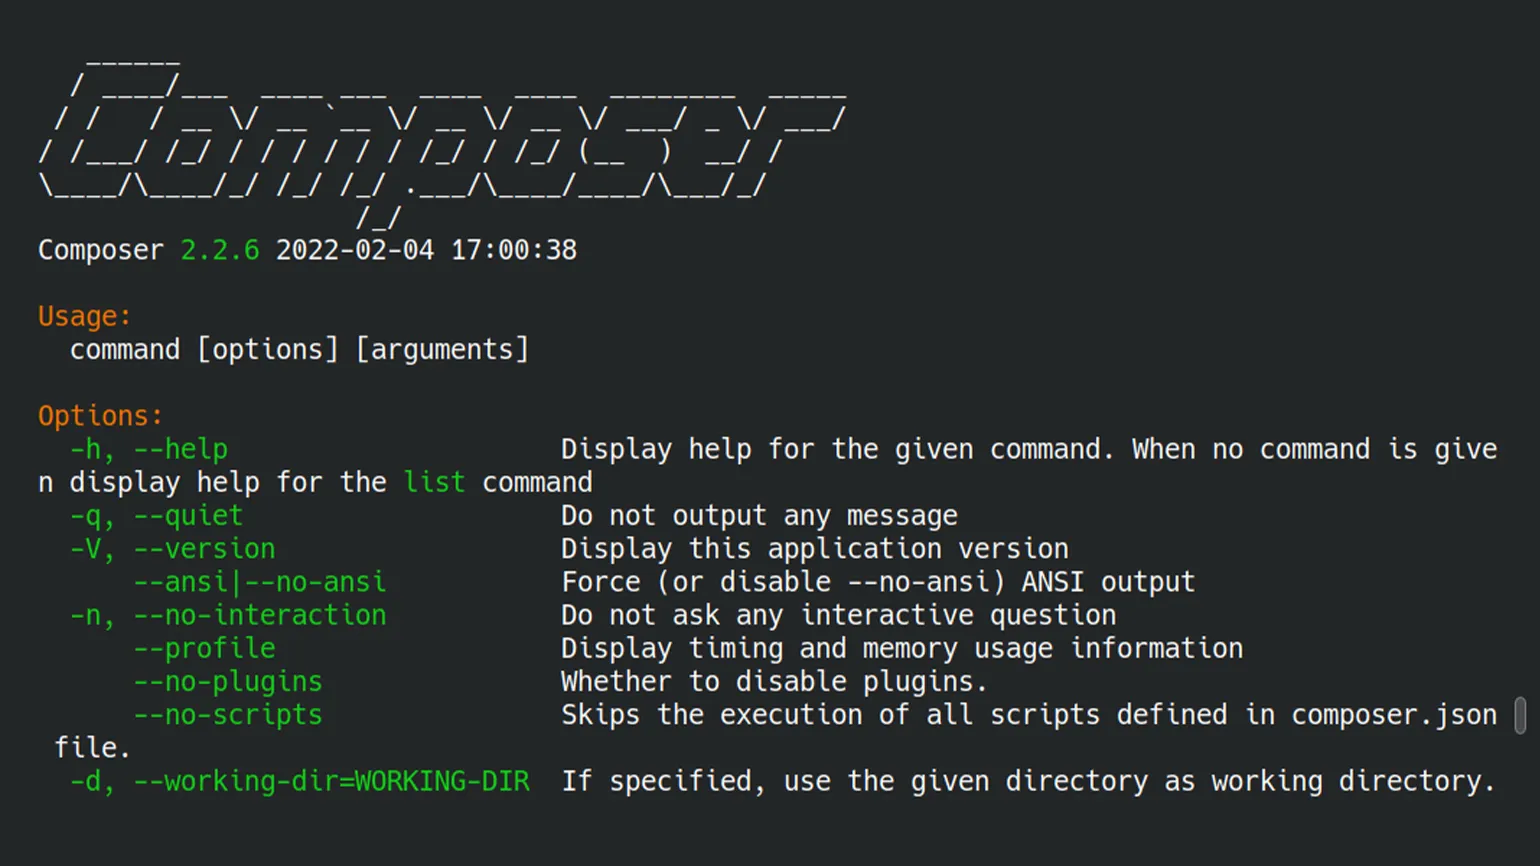
On macOS, the simplest and The recommended way to install Composer is to use the Homebrew package manager. To do this, follow these steps:
- Check if Homebrew is installed. Open a terminal and enter the command ‘brew -v’. If it is not installed, follow the instructions on the official Homebrew website.
- Install Composer with the command ‘brew install composer’.
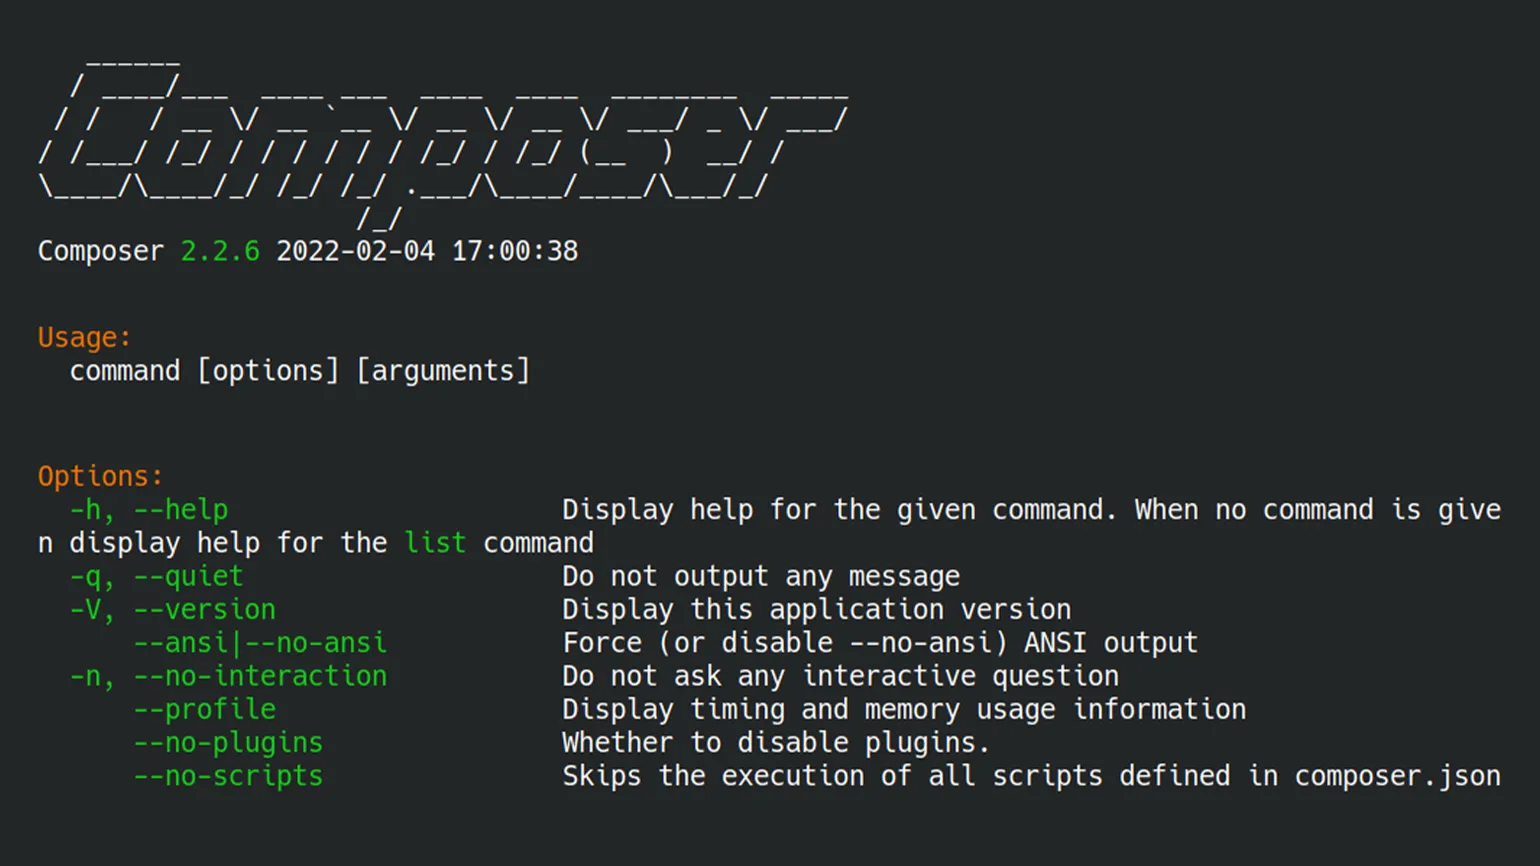
- Verify the installation by entering the command ‘composer’ in the terminal and make sure that a message about successful installation is displayed.
We recommend studying the materials on PowerShell to deepen your knowledge of the command line and its functionality. PowerShell provides powerful tools for automating tasks and managing systems, making it indispensable for administrators and developers. Understanding its capabilities will help you work more efficiently with the operating system and optimize processes.
For detailed information about Composer, its functionality and settings, we recommend visiting the official Composer website at [Composer official website](https://getcomposer.org/). On the site, you can find useful guides, documentation, and the latest updates that will help you get the most out of this tool for managing dependencies in your projects.
Basics of composer.json file syntax
The composer.json file is the primary tool for managing dependencies in PHP projects. This JSON file allows developers to easily install the necessary third-party libraries and packages with a single command. This significantly simplifies the development process, ensuring quick environment setup and simplifying dependency updates. Proper use of composer.json contributes to increased project efficiency and improved scalability.
The composer.json file is usually created automatically the first time you run `composer require`. However, if you intend to host your project on public repositories like Packagist, it is important to manually add background information and autoloading settings. This will ensure that your project functions properly and will facilitate its integration with other libraries. Make sure to include the required fields, such as name, description, author, and license, to make your project as descriptive as possible for potential users and developers.
The file contains key information, including:
- lists of production and development dependencies;
- directories for the autoloader to search for classes;
- project information (name, type, description, keywords, license);
- Composer settings.
The contents of the file are represented as a simple JSON object, which consists of keys and values. All keys must be enclosed in quotes, while values can be of various types, including numbers, booleans, strings, arrays, and nested objects. For a deeper understanding of the JSON format, we recommend checking out our article, which covers its features and usage examples in detail.
Key Properties of the composer.json File
The composer.json file is a key element in dependency management in PHP projects. It contains important properties that define the configuration of your project and its dependencies. One of the main properties is «require», which lists the libraries and versions required for the application to run. Also significant is the «autoload» property, which is responsible for automatic class loading, simplifying the code structure and increasing its readability. The «scripts» property allows you to run commands during installation or dependency updates, simplifying task automation. It is also worth noting the «repositories» property, which specifies package sources, allowing you to use third-party or private repositories. Proper configuration and understanding of the composer.json file properties significantly simplifies the process of developing and managing PHP projects, ensuring their stability and flexibility.
name is the package name, which is formed from the vendor name and the package name itself, separated by a slash (/) character. This name will be used by users during installation, making it mandatory for public projects. A correct and clear package name contributes to better perception and search engine optimization in the ecosystem, so it is important to choose it with the target audience and uniqueness in mind.
The package type, specified as ‘library’, plays an important role in the installation and deployment process. This field helps determine how exactly the package files will be processed. For example, files from the library package are placed in the vendor folder, while the metapackage package does not contain any files of its own, but only initiates the installation of other packages specified in the require section. Correctly specifying the package type helps simplify dependency management and optimize the development process.
**description** is a concise description of the project, which is required for public packages. A well-written description helps users quickly understand the essence of your project and its main features. Effective use of keywords in this text contributes to better indexing in search engines and increases the visibility of your project. Make sure the description is informative enough to attract the attention of potential users, but concise enough to avoid overwhelming them with information.
Keywords are an array of terms that make it easier for users to find the package using the composer search command. Proper keyword selection improves package visibility and availability in the Composer dependency management system.
The **require** section lists your project's dependencies. It's important to understand that the caret (^) before the version number indicates a major version constraint. This means you can update dependencies to any version that doesn't change the first digit of the version. For example, for PHP v8, Laravel v11, PHPUnit v11, and other libraries, using the caret allows you to receive updates with fixes and improvements without breaking compatibility with your code. Proper dependency management is critical to the stability and security of your project.
Dependency Versioning in Composer
Composer uses various symbols to indicate dependency versions. These symbols allow developers to accurately determine which library versions are required for a project. For example, the tilde (~) character specifies compatible versions starting with the specified version but not including the next major version. The caret (^) character is also used to specify compatibility, but it allows you to upgrade to the latest major version if the first part of the version matches. You can also use the equals (=) operator to install a specific version of a package. Understanding these symbols and how to use them is an important aspect of Composer because it helps avoid dependency conflicts and keeps your project stable.
- <, >, <=, >=, and != — version ranges, for example, >=1.1.0 <=1.1.8;
- — — a hyphenated version range, for example, 1.1.0-1.18;
- * — a substitution, for example, 1.1.*;
- ~ — the last digit must be equal to or greater than the specified one, for example, ~1.1.3 is equivalent to >=1.1.3 <1.2.
Class Autoloading in Composer
The **autoload** field in Composer defines a set of directories where the autoloader will search for classes. There are four autoloading methods offered by Composer. These methods allow you to optimize the class loading process, ensuring smooth integration with the project and simplifying dependency management. Properly configured autoloading improves performance and simplifies development.
- File — full inclusion of files, as in require and include. This is convenient for connecting sets of functions.
- Class maps - Composer automatically loads classes as needed from predefined directories.
- PSR-0 - each namespace has a corresponding directory whose structure follows the namespace structure.
- PSR-4 - similar to PSR-0, but the folder structure does not have to imitate the namespace structure.
Each autoloading method in PHP has its own section within the autoload section: files, classmap, psr-0, and psr-4. In practice, the most commonly used standard is PSR-4, which is a modern and efficient approach to class autoloading in PHP. Using PSR-4 allows developers to organize code in a more structured way and simplifies class autoloading, which improves application performance. The implementation of this standard ensures compatibility with other libraries and frameworks, which is important for creating scalable and maintainable projects.
For a full list of available properties, we recommend referring to the official Composer documentation. This will give you a deeper understanding of your project's functionality and limitations, which in turn will help you manage dependencies and configuration more effectively.
Key Composer Commands for Dependency Management
After learning the basics of Composer, it's time to take a closer look at its key commands that make it easier to manage libraries and frameworks in your PHP projects. These commands will not only simplify the process of installing and updating dependencies but also ensure better organization of your code. Using Composer, you can quickly find and integrate the packages you need, as well as keep your libraries up-to-date, which is an important aspect of PHP development.
Installing libraries and frameworks is a key task for developers. The require command is used to accomplish this. This command enables you to include necessary dependencies, simplifying development and expanding application functionality. Proper use of require helps avoid version conflicts and ensures software stability.
To find the exact package name, use search engines. Search for the required library using Google or Yandex, copy the name from the official website or from the GitHub documentation. Then enter this name into the require command. This method is the fastest and most effective for obtaining accurate information about packages.
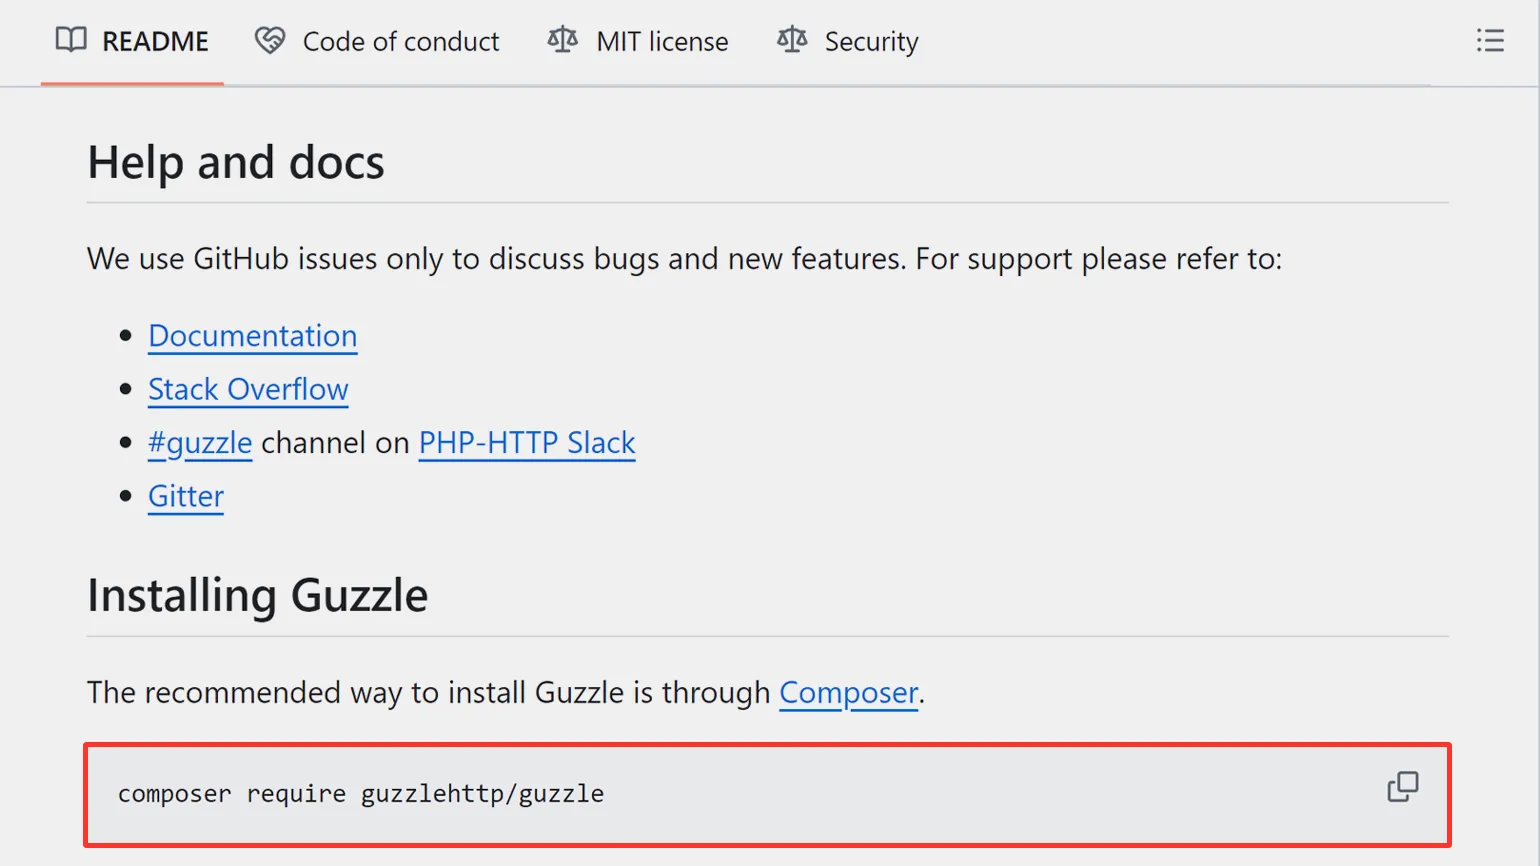
Press Enter to begin installing dependencies using Composer. During the installation process, green messages will be displayed in the terminal. If the installation is successful, you will see information about the version of the installed package.
The root directory of your PHP project on GitHub typically contains a composer.json file, which includes a list of required dependencies. Using this file, you can install all of the project's dependencies with a single command. This process greatly simplifies managing the libraries and packages needed to run your application.
After executing the command, a vendor folder is created in the root directory. This folder contains all of the project's dependencies, as well as the autoload.php autoloader file. The autoloader simplifies the inclusion of classes and libraries, which contributes to a more organized code structure and improves application performance.
In most cases, the installation is successful. However, sometimes problems arise with packages that require missing extensions. Composer always reports these issues. If you encounter this situation, carefully review the messages to determine which extensions need to be installed for proper operation.
Often the solution is simply uncommenting the required line in the php.ini file. If the required extension is missing, it can be downloaded as a .dll for Windows or .so for Linux. After downloading the file, place it in the appropriate folder and add its name to the php.ini file for the extension to work correctly.
To update all dependencies of your project, run the following command:
To update a specific dependency, simply specify its name in the command. This will allow you to easily keep the libraries and packages used in your project up-to-date. Regularly updating dependencies improves the performance and security of your application. Make sure to check the compatibility of the updated dependency with other libraries to avoid potential conflicts.
Regular Composer updates are essential to ensure the stability and security of your project. To update Composer to the latest version, use the following command:
To install the latest stable version, use the —stable— flag. This will ensure you have the most current and tested version of the software. Make sure you use this flag to avoid installing unstable or beta versions, which may contain bugs or inconsistencies.
To remove a package from your project, use the remove command. This command effectively removes unnecessary dependencies and optimizes your project. Make sure you are in the root directory of your project before running the command to avoid errors. Proper package management helps keep your project clean and productive.
After running this command, the package will be removed from the vendor folder, as well as from the require and require-dev sections of the composer.json file. This action will permanently remove all dependencies associated with this package from your project. Please ensure you really want to remove the package, as this may impact the functionality of your application.
For successful installation of packages with Composer, it is necessary to have a properly formed composer.json file. A properly structured composer.json file ensures that the dependency management system works correctly, avoiding errors and simplifying the process of installing the required libraries and frameworks. Make sure that all dependencies are specified in the correct format so that Composer can process and install them without problems.
To perform a check, use the following command:
If the file meets all the requirements, you will receive a notification that it is valid.
If your project has errors, Composer will notify you of them. This will help you quickly identify and resolve issues related to dependencies and configuration of your project. Make sure you carefully monitor the error messages to ensure the correct functioning of your application and its dependencies.
In the example provided, the file is suitable for use; however, if you intend to host the project in the central Packagist repository, it will fail the check. This is due to the absence of the description field in the composer.json file. Adding this field is necessary to properly describe your project and its functionality, which is important for users and to increase the visibility of your package in search engines. Make sure to include a complete and informative description to improve your project's findability.
Conclusion
In this guide, we covered in detail the key aspects of working with Composer, an indispensable tool for managing dependencies in PHP projects. We described the installation process and discussed the important composer.json and composer.lock files, which are the basis for effective library and package management. We also offered solutions to common issues that can arise when deploying applications based on these files. Using Composer automates dependency management, simplifying the development and maintenance of PHP projects.
Composer is now a standard in the development world, so understanding its fundamentals and dependency management principles is essential for all backend developers. By mastering not only the basic commands but also more complex operations, such as setting up autoloading and working with repositories, you can significantly simplify the development process and improve the efficiency of your projects. Learning to use Composer effectively will allow you to optimize library and dependency management, which in turn will lead to higher-quality code and improved application performance.
Python Developer: 3 Steps to a Successful Career
Want to become a Python developer? Learn how to create 3 projects and get help with your job search!
Learn more